News from the coop: A tour of 57a!

Well here we have a very much over due post showing 57a our new coop!

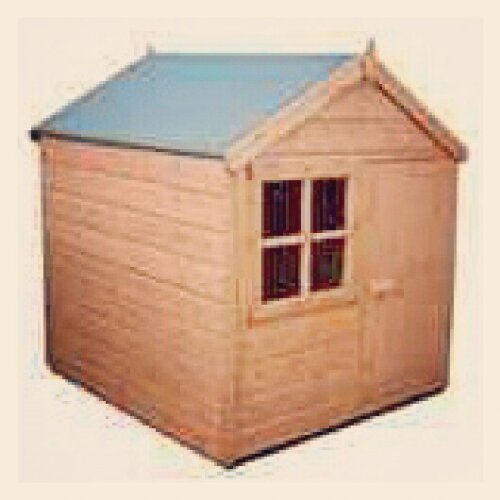
I mentioned in a previous post that we got a bargain playhouse and decided to convert it into a coop….J and A took it quite well and helped us with getting it all put together.

image

It all went very smoothly. The playhouse was easy to put together and all we needed to do then was add perches, wire mesh at the windows, cut a hole for their door and add a sliding door.

We had all of the additional materials and used an ikea shelf for the laying boxes! All in all it cost just under £100 for a 4ft x 4ft coop.

image

I painted it Willow green and cream and couldn’t resist fairy lights around the roof! Henrietta was the first to inspect it and they all love it! So much more room than they had before, which will be much needed come winter when they spend more time in there.

I am really pleased with the signs I made, I think they are a nice finishing touch.

image

image

image

Next job to sort out the small coop (57b) for the new bantams 🙂

Posted from WordPress for Android

In the Garden: A big can of worms

For a while now I have wanted a wormery in the garden, but have never, until recently, properly looked into the options. Well I can honestly say I am quite surprised at the expense of it all…although in the long run I can see I would have some lovely compost for my veggie garden and be reducing my household waste.

My options seem to be as follows:

Omlet: Hungry Bin

Hungry Bin

Starting price – £175.00

These look amazing and seem to include everything you would need, looks very portable with the wheels, but at nearly £200 I really do not think I could justify the cost.  It is a lot to spend on worms and compost in my opinion and kind of distracts from the ‘money saving’ aspect I like about composting etc!

Original Organics : The Original Wormery

Original Wormery Internals

Starting price – £52.95

A lot more reasonable price, includes everything you need to set up, but doesn’t look as easy to access the compost as the Omlet one? Something maybe to investigate further. Also not portable, I’m not sure I would want to move it though so not a big issue.

Wolverhampton Council – Getcomposting.com

Can-O-Worms Basic with Budget Pack, 45 litres

Starting Price – £53.00

This is a ‘can o worms’ composter is available, apparently at a discounted rate from our local council. It includes everything to start up as the other two above, but I like the look of this as it is in layers and seems easy to access and maintain, there is a more expensive one with additional layer, so I wonder if maybe this one could be added to if I got on okay with it?

Tesco Greener living DIY version

*No photo available*

Starting price – A plastic tap plus worms

This article tells you how to make your own wormery from a box (am thinking I would use my old recycling box) and turn it into a wormery. Looks like it would be awkward to access the compost, but it would be easy to drain off the ‘worm juice’. Realistically I think this is the one I will try as it is cheap and I won’t have a lot to lose if it turns out to be not for us.

I am interested to know your thoughts though?

Any tried and tested wormeries?

Has anyone done any blog reviews etc, or know of any you could link me to?

I am more of a look at before I buy person so will have to try and see if any local garden centres stock any of these so I can get a feel for them.

Any opinions?

Photography: #lowdownground

I often take part in the instagram weekend hashtag projects as I enjoy the challenge. This weekend I have really enjoyed the #lowdownground one which meant turning my phone upside down and putting it on the ground mostly in the coop! I love the results:

image

Scramble as curious as ever.

image

Bottoms up!

image

A lovely blue sky for a change 🙂

Posted from WordPress for Android

In the Kitchen: The worlds quickest pudding!

Yesterday was spent looking at bantams! We found a lovely breeder who had a huge selection of bantams for sale. We weren’t going to buy, just ask questions and try and choose a breed so as in a month or so we can get some. We didn’t manage to choose though as we loved them all. I think my very favorite were the Lavendar Pekins, but there was a hybrid breed there that were lovely too.

We need to get a roof put on our run and get some sand and also brick around it to fox proof it.

Anyway, we ended up rushing back via the shops as we had nothing in suitable for dinner as we had big J with us and unlike J and A, he is a fussy eater! I got ingredients for a cottage pie and made it while my dad was here so I never considered pudding as I was distracted.

It was 7pm when we sat down to eat and I realised there was no pudding and the boys were all expecting something yummy! So I made a steamed fruit pudding….without steaming!

I got a small cassrrole pot and put a few handfuls of mixed frozen berries in the bottom (enough to cover the bottom) I then lightly sprinkled with caster sugar and a few tablespoons of strawberry jam – the exact amount would depend on your dish size, it needs to be enough to make a sauce with the fruit. Next I made a sponge mixture using 2 small eggs, 100g of flour, 100g caster sugar, 100g of butter and 50ml milk. I mixed all the sponge ingredients in a mixer until smooth and fluffy, then poured on top of the fruit.

image

Then cook in the microwave for 5-10 mins until the sponge is firm and starting to come away from the sides of the dish. The exact time will vary depending of the dish used and the power of your microwave.

image

This was a huge sucess with the boys they loved it! It was yummy served with custard 🙂

image

Posted from WordPress for Android

Tutorial: How I made name signs…

I have lots of exciting photos of our new coop to share soon, but not until it is completely finished.

In the mean time I thought I would share with you the process of making the name signs. I am not neat enough to write free hand and wanted a different font for each hen.

I bought some blank plaques from Bluebell Woods ebay store, and painted them with two coats of the wood preservor which I used for the coop. I then used word and some fancy fonts to print off the hens names.

image

I cut each name out into a rectangle and traced the letters on the reverse…I used thin paper, but if your paper was too thick you could hold it up to a window to trace.

image

Next I taped the name onto the sign in exactly the place I wanted it and coloured over each letter pressing quite hard.

image

I was left with a print of the name on the wood.

image

Finally I went over the letters on the wood with a black paint marker (also from ebay).

image

I am so pleased with the results! I have two more to make, plus a ‘Home Sweet Home’ sign to make. Then they can be hung up on the run.

image

So much easier than attempting free hand!

I decided to finish off with a coat of spray varnish to protect the lettering. I am undecided whether or not to attach them individually to the run with wire, or to hang them from each other with either garden twine or chain. Final decision to be made tomorrow if it stops raining enough to go outside and see which looks best!

Posted from WordPress for Android

News from the Coop: All Change!

Well today I purchased a new coop having only had the existing one 2 weeks!

I all honesty the one I have bought today wasnt exactly spur of the moment…we have been disappointed with the original one since it arrived and only kept it as the hens were due the next day and there was no time to change it. It would be perfect for two hens but we have four and want two more so it’s just not a long term option for us really.

So this is what we got:

image

Yes its a place house but it was on offer and we have a plan to adapt it. Unfortunately due to problems in the store which took an eternity to sort out, we had no time to get our other items: 4 slabs, anti weed membrane, forest bark, timber for perches and door and 3 cans of woodstain!! Quite annoying as we both finished work early to get all this done in one go!

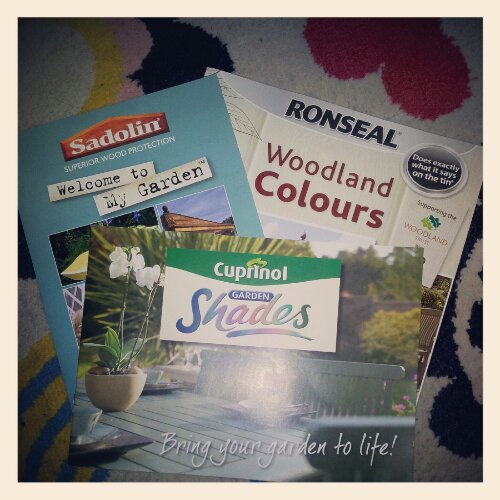
Oh well! At least now I can sit and have a good think about woodstain colours, I cannot believe there is so much choice. I plan to do the shed/coop/run all matching colours, either blue and cream or green and light purple I think.

image

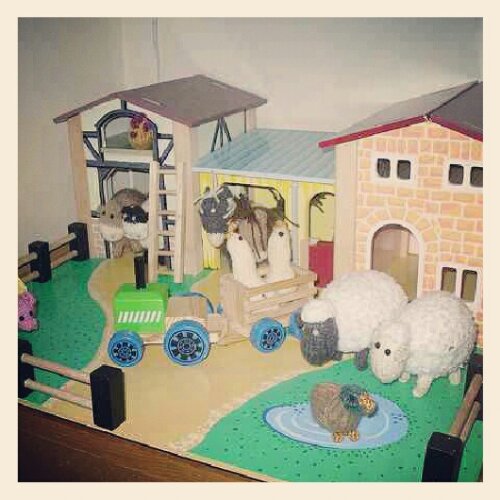
We only just got home in time to get the boys from the childminder, A was so excited as he had been on his first school trip!! He is only 3 and spent a full day at a farm and now wants a goat and a peacock 🙂 We will have to add them to the list forif we ever get our dream house in the countryside. He has gone to bed with a selection of their farmyard animals which I knitted for J’s 3rd birthday. Its nice to see them still playing with them after 3 yrs, especially as they took so long to make (Alan Dart pattern).

image

image

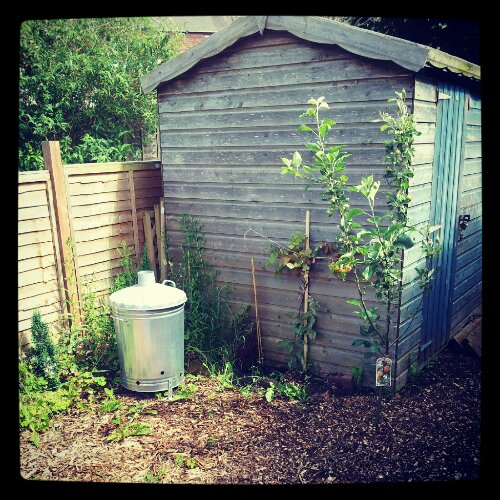
If anyone in the west mids would like to buy a nearly new coop like this one:

image

email me! boysandchickens@live.com. – actually we may keep it for Bantams or a rabbit! Exciting!

Posted from WordPress for Android

In the Kitchen: Cornflake smarties cakes

The quickest cake ever!

I fancied making cocopop cakes but got told by J and A that I couldn’t use their current fave cereal…so I had to use my cornflakes.

I melted two bars of supermarket own chocolate in the microwave added about 3 large handfuls of cornflakes and 3/4 of a bag of smarties. I stirred well and then spooned into paper cases and put in the fridge to set!

image

The perfect quick treat for my poorly little boy who had to be picked up from school early today.

Posted from WordPress for Android

In the Kitchen: Ikea Meatballs!

I love Ikea meatballs! However I do have to limit my trips to Ikea as they can be quite expensive.
I was searching the internet for a recipe for the cream sauce and came accross a fab blog with some yummy recipes, one of which was a complete Ikea meatball and sauce recipe.

The recipe can be found on Christine’s food blog here.

Here is a photo of my attempt…the photo is of one of the boys little portions, we ate way more!

image

Will definitely be making this again.

Posted from WordPress for Android

Out in the garden: Weekend washout

I had big plans for the weekend, however due to rain not a lot got done.

On Saturday we took the boys to see the Olympic Torch relay and despite the rain we all enjoyed it, there was a lovely atmosphere.

image

I loved the neon queen posters as well! Not sure if they had been put up for the torch or if they were left over from the jubilee?

image

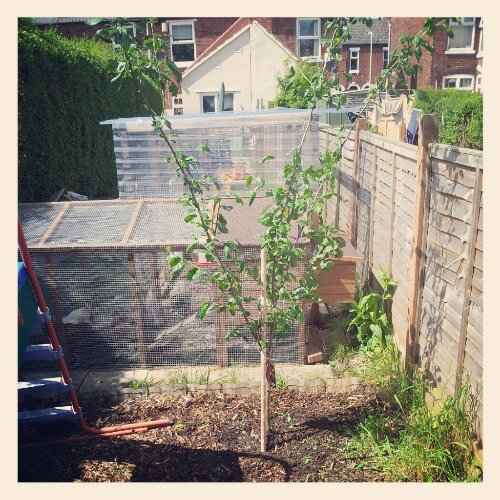
On Sunday afternoon we took the boys to their Nans and went to fetch some trees/bushes. We chose an apple tree, a plum tree and a loganberry bush. We came home and planted them behind the coop…I am regretting not buying a raspberry and blackcurrent bush as well now!


image

image

They hens were very inwuisitive and looked like they couldn’t wait to get out and pinch all the berries!!!

image

I am considering getting one of those omlet moveable fences to keep them away from the top part of the garden…does anyone have any experience with them? They are £99 so would like to hear some real life stories about pros and cons before buying!

Yesterday we had our first 4 egg day!! Clever girls 🙂

image

I have ordered a few bits and pieces to decorate the coop and run so will update you all when they arrive.

Posted from WordPress for Android